Sending Transactional Email via Malomo
With Malomo’s Transactional Email feature, you can design, test and launch your transactional emails quickly from directly within our platform. Manage your entire post-purchase experience from one place, easily link to your Malomo tracking page, and launch in just minutes.
To get started with Transactional Email, use the quick start guide below or check out these detailed articles:
Transactional Email Quick Start Guide
Step 1: Customize Your Base Email Template
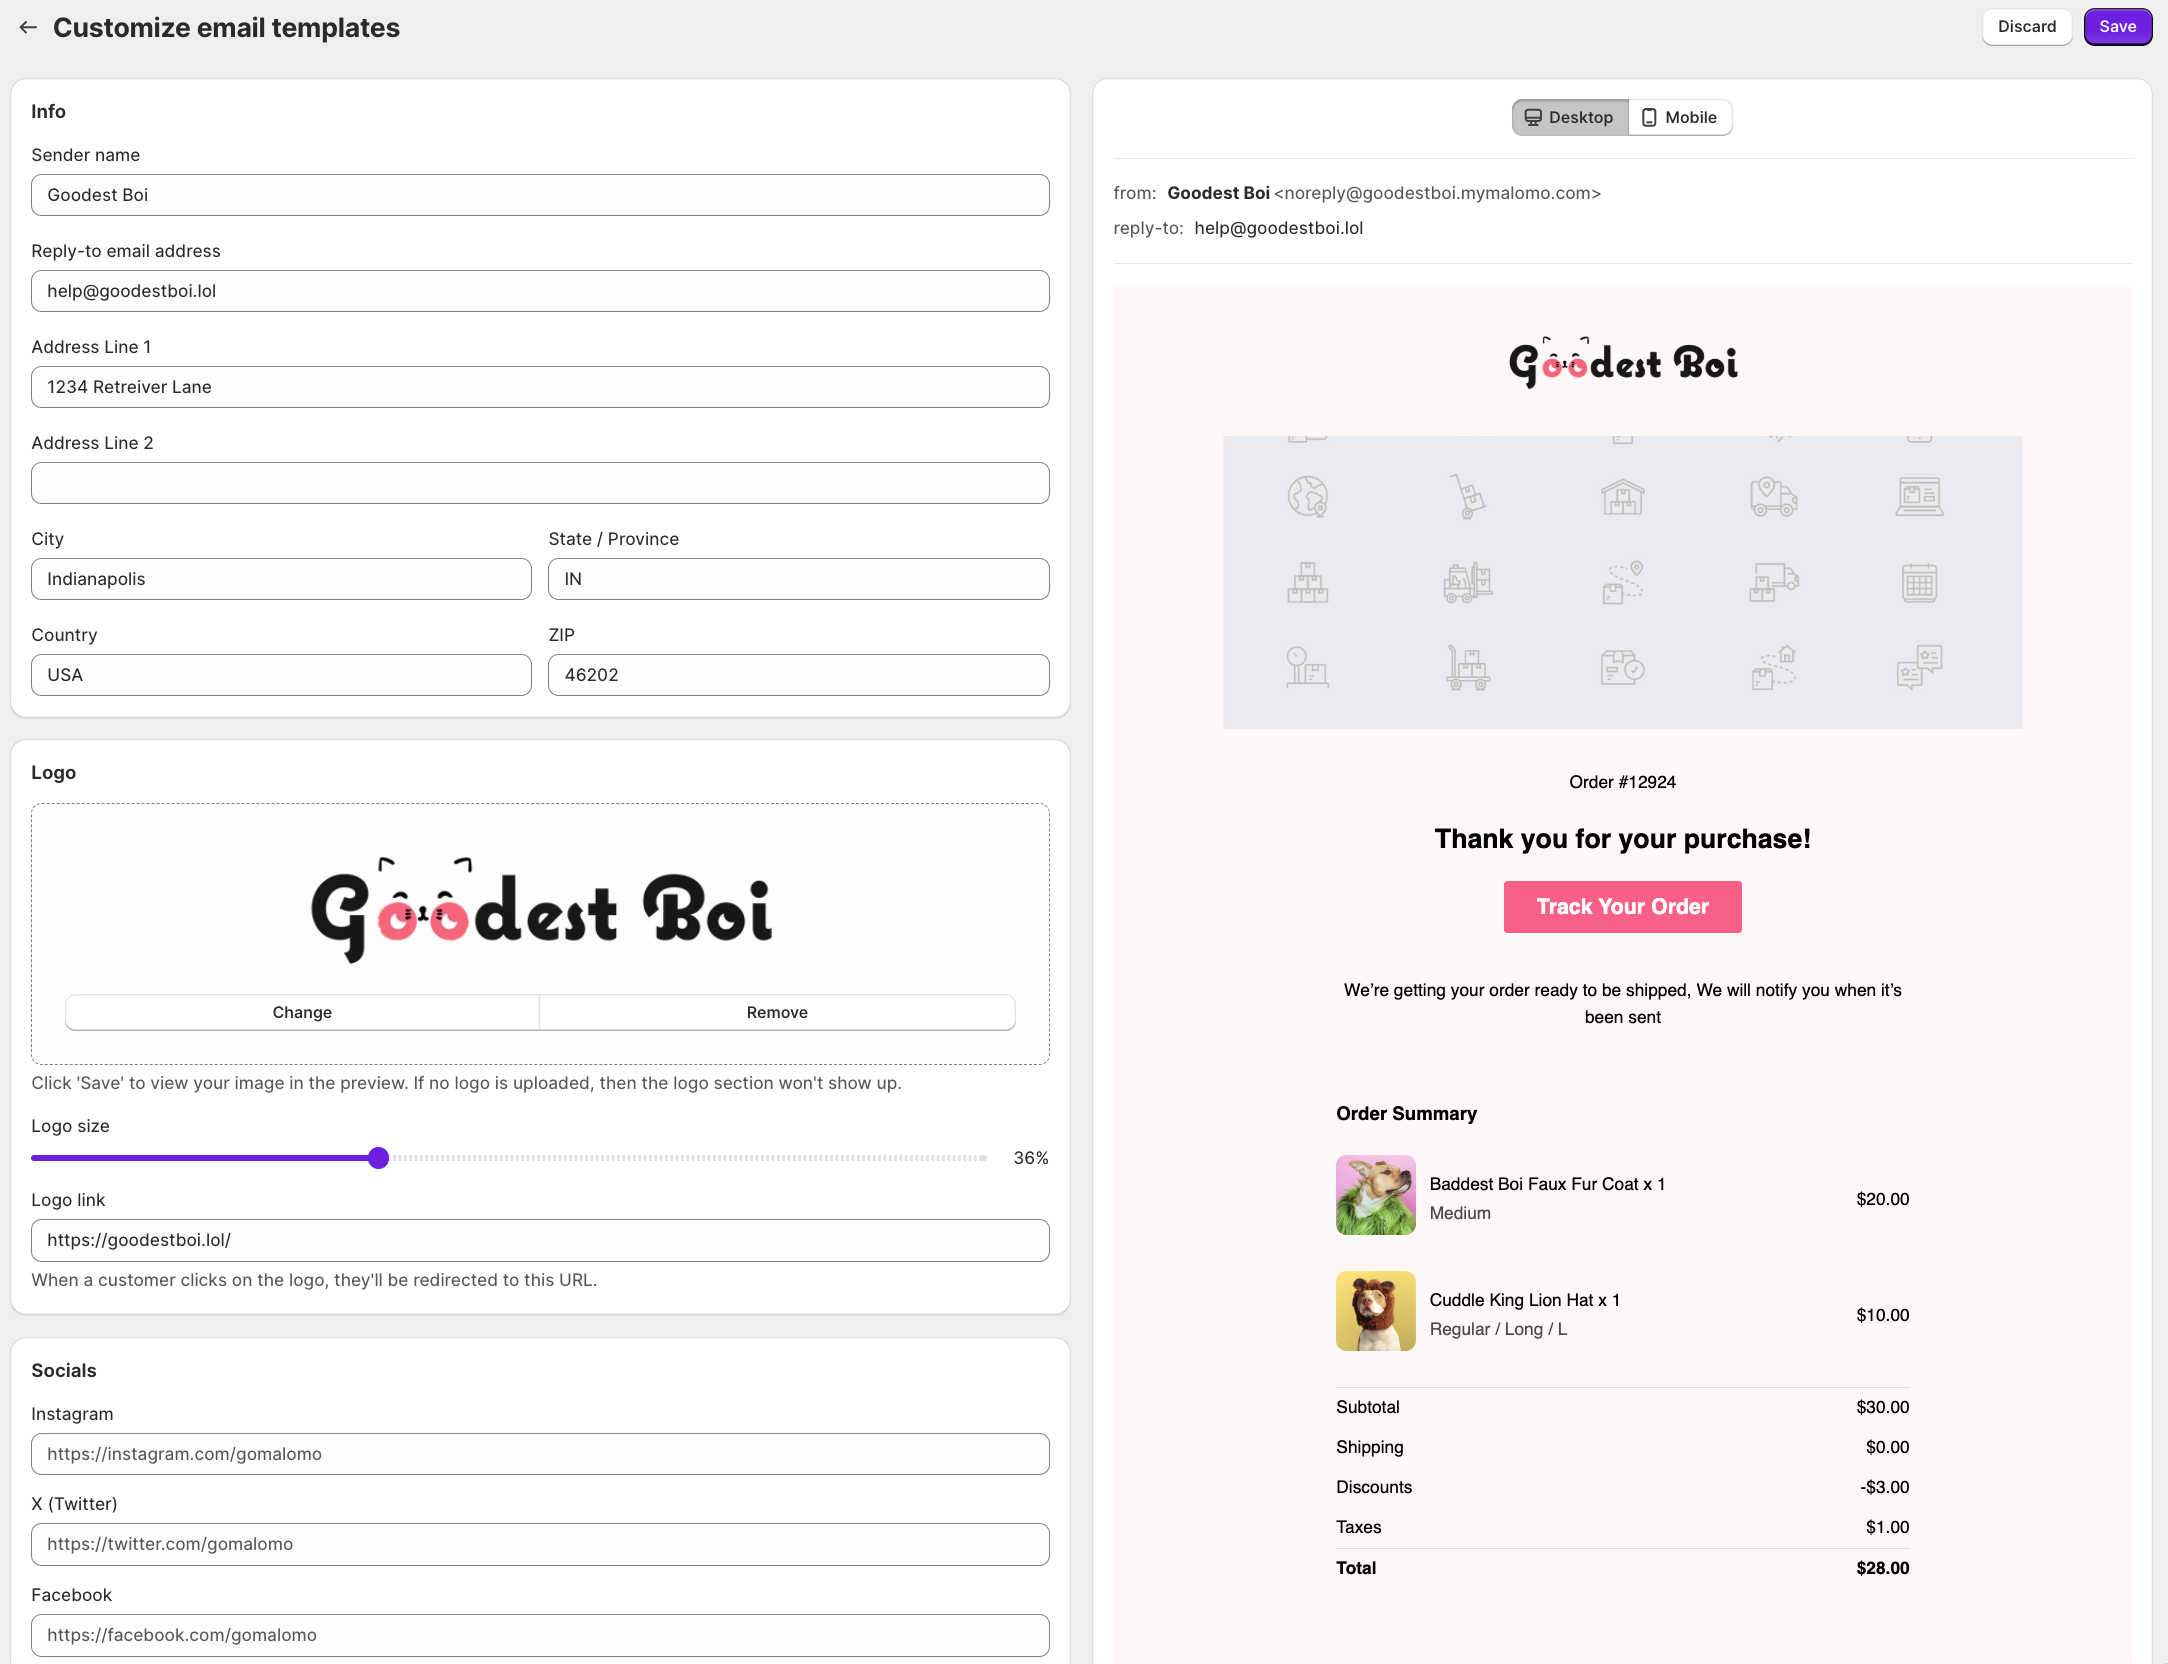
To begin sending Malomo Transactional emails, you’ll need to first customize your base email template. This will configure your logo, social links, and color styling across all email notifications, as well as allow you to set your sender name, reply-to email address, and business address.
Within the Transactional Emails section of the dashboard, click on the Customize email templates button at the top of the page to get started. Use the preview screen on the right to view changes as you style. Once finished, hit Save and click the left arrow to return to the main section.

To read step by step instructions, check out our How to Customize Your Base Email Template article.
Step 2: Customize Individual Emails
Once your base template has been customized, you are ready to move on to customizing the individual template for each email status you’d like to enable. This will allow you to add in different images and messaging for each email status.
First, decide which emails you’d like to send to your customers. Malomo currently supports 8 events throughout the order creation, fulfillment, and shipping cycle. Learn more about our event email triggers here.

Once you’ve decided on which order status emails to send, click on the title of the email template you’d like to begin with. Update the email Subject line, Heading title, Body copy, and Footer text to the messaging you’d like to use. Our system supports markdown syntax for design formatting and you may use specific Malomo variables within any text input box.
Next, upload a hero image to display at the top of the email by clicking the Change button. Please note, only .jpg and .png files are accepted and we recommend an image width of 800px or larger. The max file size is 1MB. If you do not want to display an image in the email, click the Remove button. Scroll down in the preview screen on the right to view changes and click between the Desktop and Mobile buttons to view the template for each screen size.
After these changes, we recommend previewing a test email to confirm your design. Do so by clicking on the Send test button at the top right of the screen. When finished with customizations, click on the Save button. Repeat the above steps for each email status you’d like to enable.
Do not click the top checkbox that denotes the email is Inactive until you are ready to turn on the email. Once the checkbox is checked. and the email is saved, the email will be marked as Active and this will enable the email to begin sending to your customers.
Please note, we do not recommend enabling the Order Confirmation and Shipping Confirmation emails unless you are on a Shopify Plus plan. Only Shopify Plus merchants can disable these notifications in Shopify. To learn more about this, please see our article on How to Disable Shopify Notification Emails. For Standard Shopify plan members, learn how to add our code snippet and link to your Malomo tracking page in these two default Shopify notifications here.
To read step by step instructions, check out our Customizing Individual Email Templates article.
Step 3: Confirm Your Default Tracking Page URL
Your Malomo account must have a default tracking page set in the dashboard in order to send transactional emails. The Track Your Package button within the order status emails will link to the Default Tracking Page URL set for your account.

To configure your Default Tracking Page URL, navigate to the Account section in the dashboard. Paste the base URL of your tracking page in the Default Tracking Page URL section. Click Update Account when finished.
If you've used our Shopify Theme App or Malomo.js to host your tracking page, your base URL might look like this:
https://yourbrand.com/pages/order-trackingMalomo hosted tracking pages are formatted like this:
https://yourbrand.mymalomo.comorhttps://yourbrand.mymalomo.com/xxxxx
To read step by step instructions, check out our Set Your Default Tracking Page URL article.
Step 4: Launch
Once you have a live branded tracking page and have finished customizing your emails, you’re ready to start notifying your customers with this new post purchase experience. Simply navigate to each individual email template and click the top checkbox. The status message next to the checkbox will change to Live. Click the Save button on the template and repeat for each email you intended to enable.
In the main Transactional Emails section of the dashboard, you’ll see the status for each enabled email change to Live. You are now sending Malomo transactional email! To view analytics on your transactional emails, as well as view email activity by customer, check out the Email Performance Report within the reporting section of the dashboard.

To read step by step instructions on the above, check out our How to Turn on Malomo Emails article.
Learn more about how to send Malomo Transactional Email order notifications with these articles:
