How to Customize Your Base Email Template
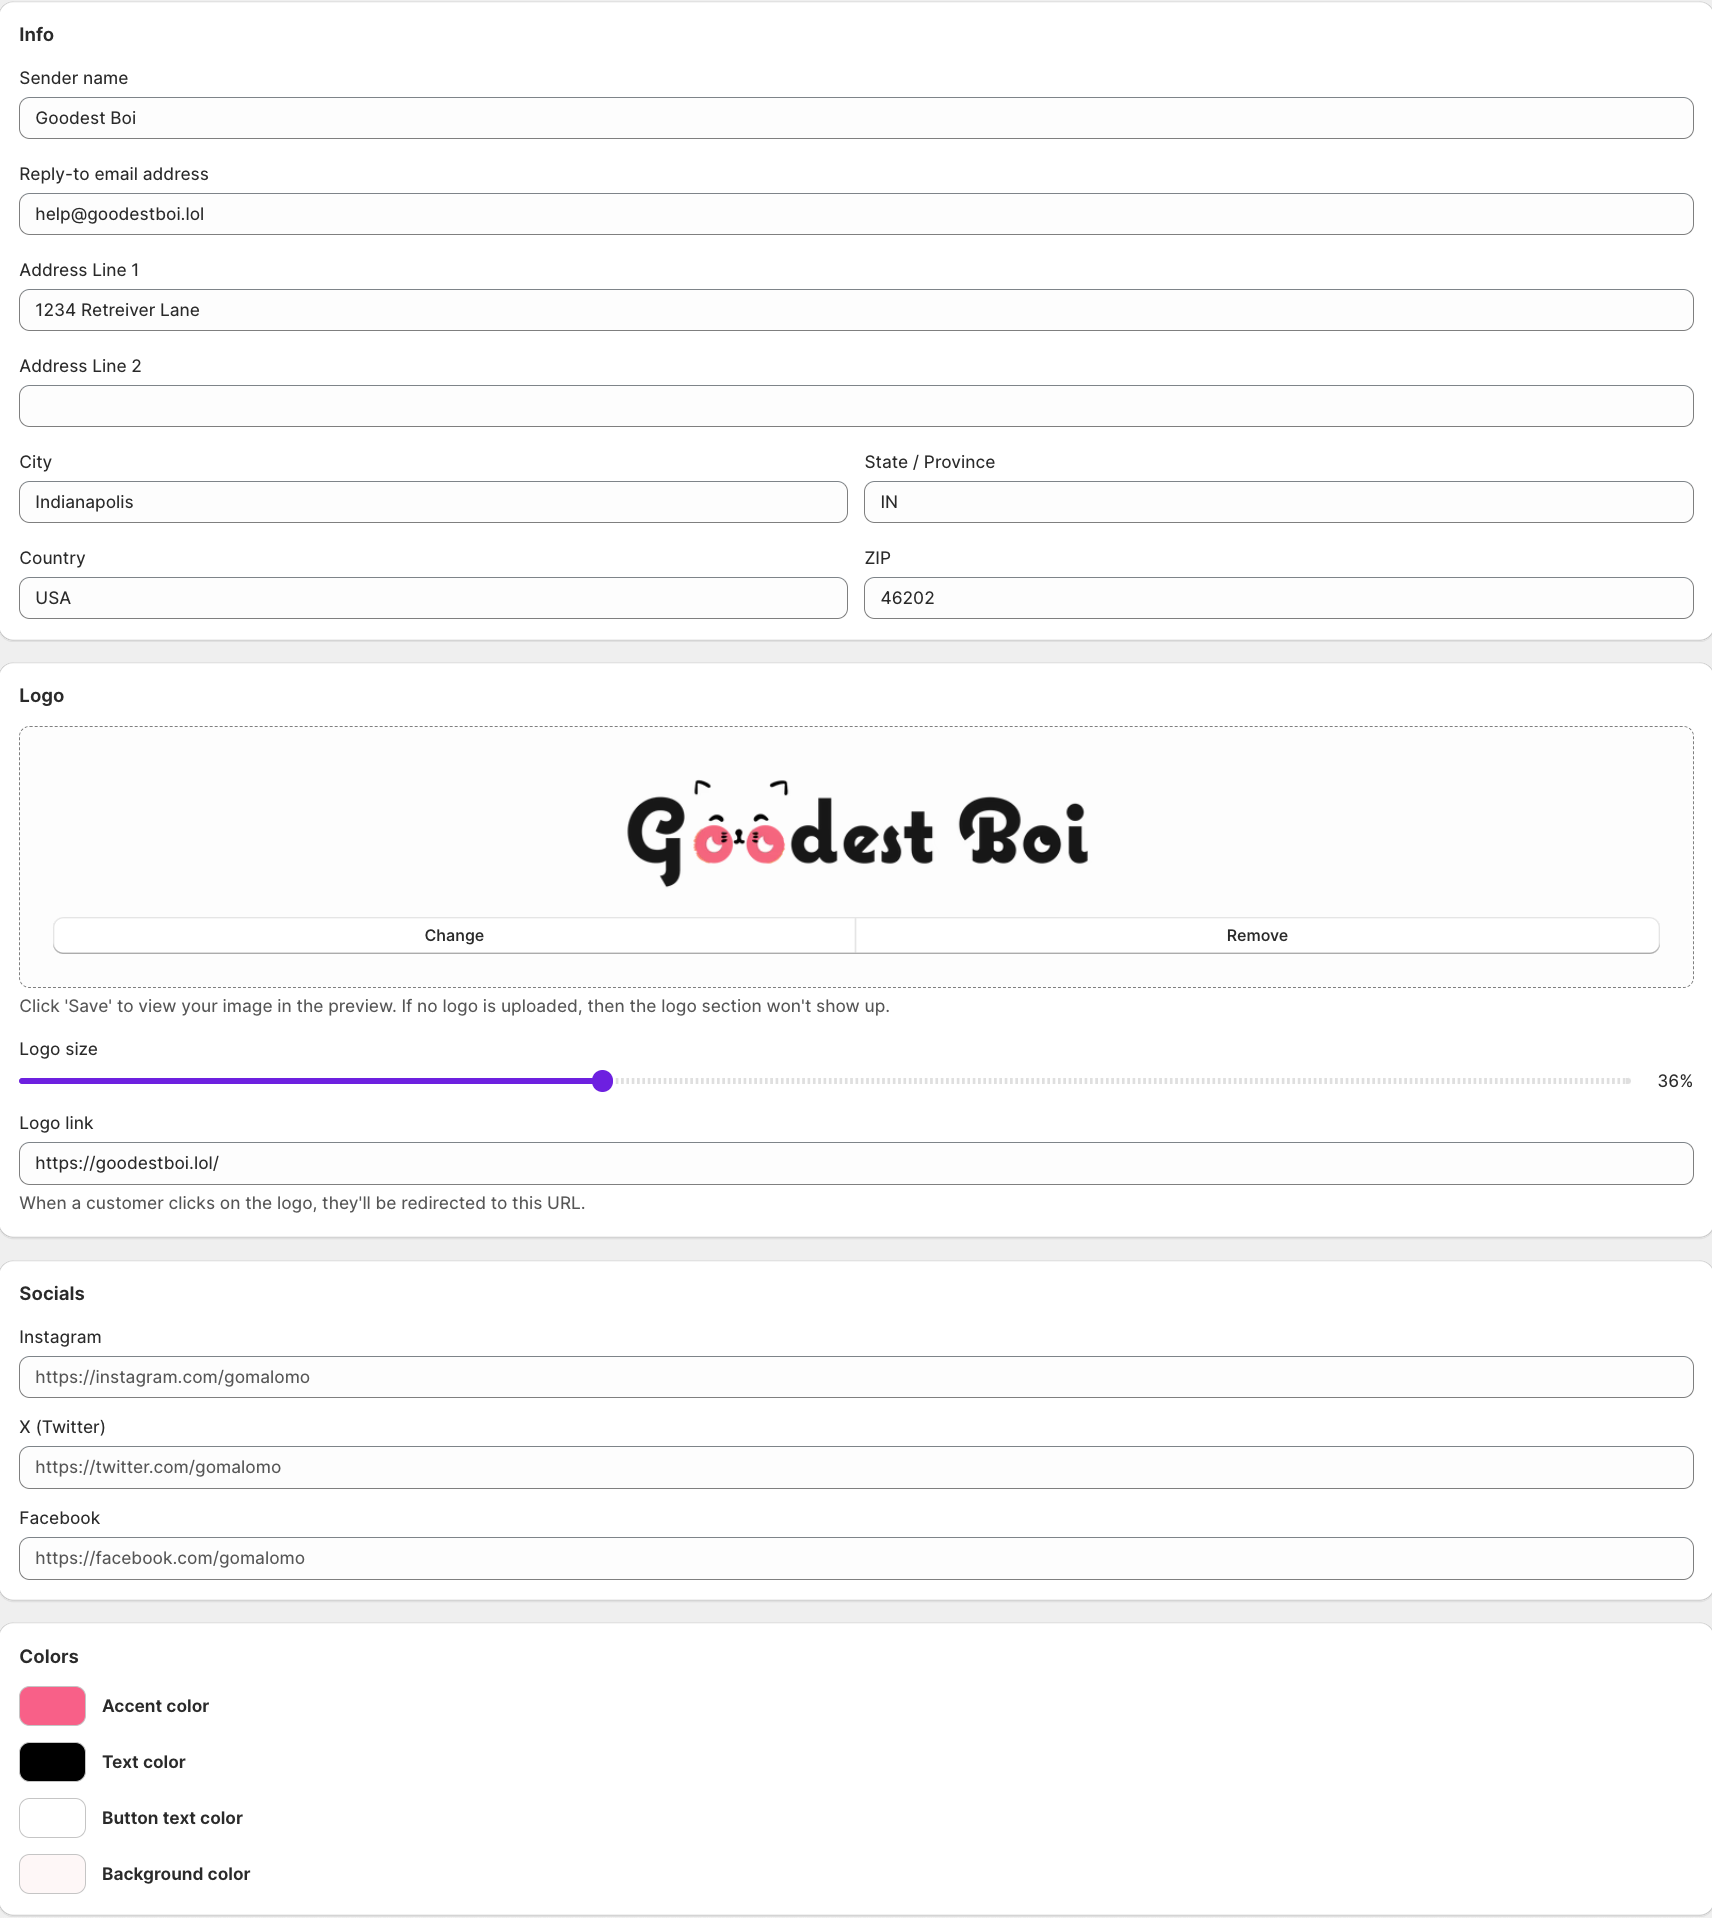
To begin sending Malomo Transactional emails, you’ll need to first customize your base email template. This will configure your logo, social links, and color styling across all email notifications, as well as allow you to set your sender name, reply-to email address, and business address.
Follow these instructions to customize your base email template:
Within the Transactional Emails section of the dashboard, click on the Customize email templates button at the top of the page.
In the Info section, confirm your:
Sender name: This is the business name that will appear as coming from in the recipient’s inbox.
Reply to email address: If a recipient replies to the email, this is the email address that will receive the email.
Address: This is a valid physical postal address for the business that is required to be in the transactional email footer per the CAN-SPAM Act.
In the Logo section:
Upload your an image of your logo. Please note, only .png files are accepted and the max file size for your image is 200KB.
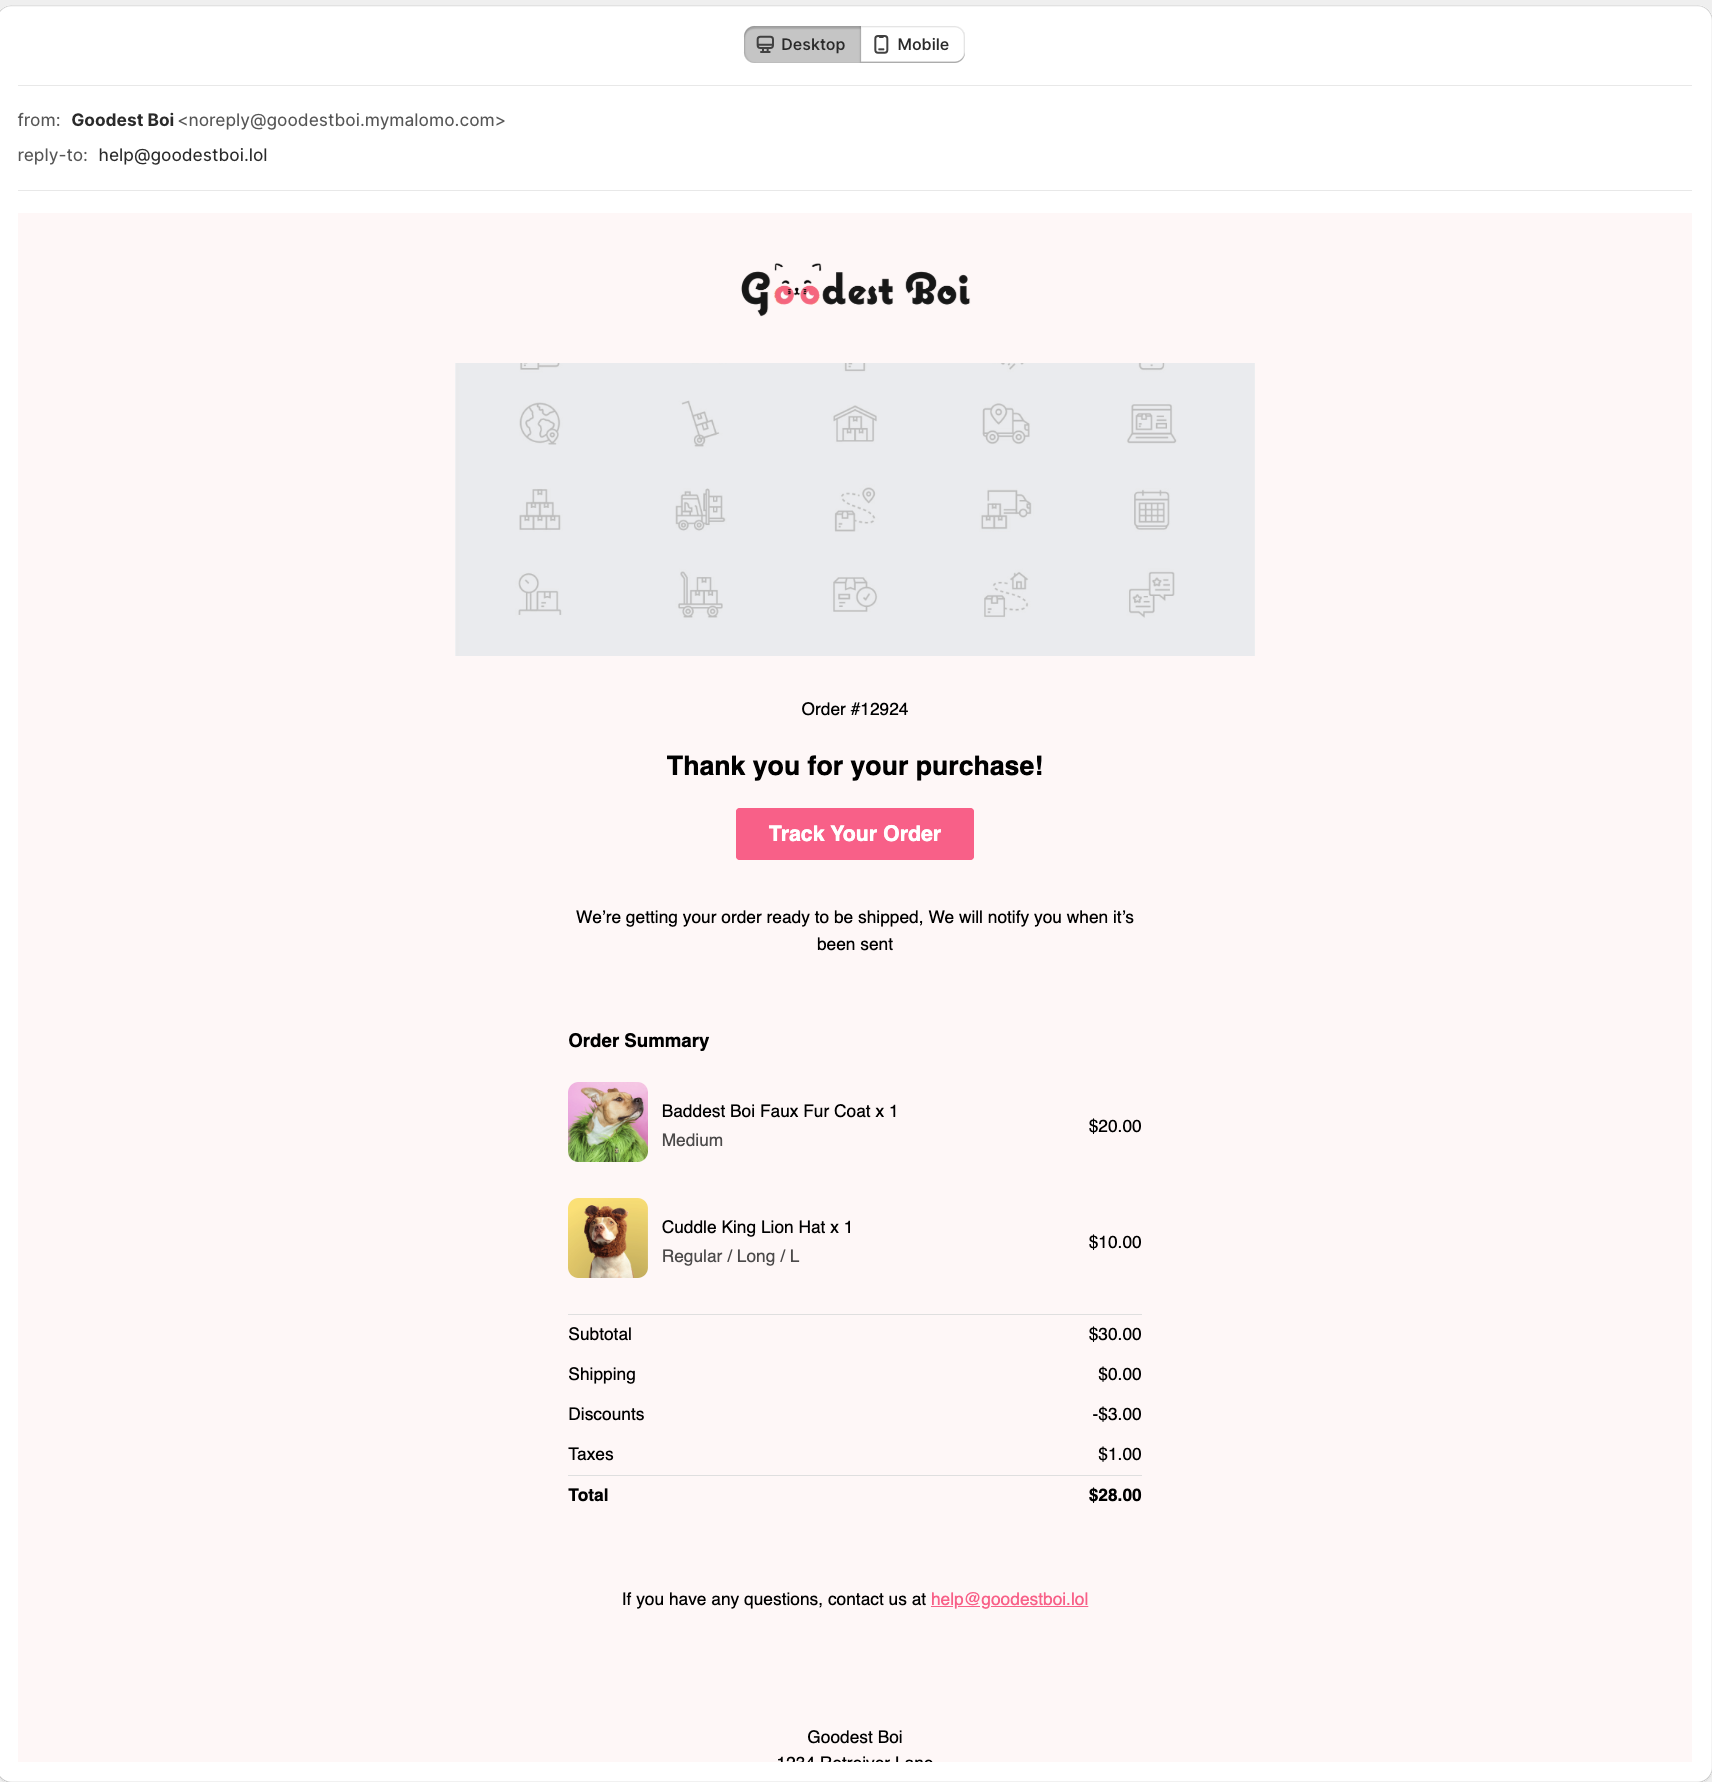
In Logo size, use the toggle to adjust the size of your logo. Use the preview screen on the right to view changes and click between the Desktop and Mobile buttons to view for each screen size.
In Logo link, enter in the preferred URL to direct recipients to when the logo image is clicked.
In the Socials section, enter in the URLs for your business Instagram, X (Twitter), and Facebook handles.
In the Colors section, select the:
Accent color: The color of the “Track Your Order” button and any hyperlinked URLs.
Text color: The color of the text throughout the email.
Button text color: The color of the text in the “Track Your Order” button.
Background color: The color of the background of the email.
Scroll down in the preview screen on the right to view changes and click between the Desktop and Mobile buttons to view the template for each screen size.
When finished with customizations, click on the Save button at the top right of the screen.


Once your base template has been customized, you are ready to move on to customizing the individual template for each email status you’d like to enable. This will allow you to add in different images and messaging for each email status. Read on in our Customizing Individual Email Templates article.
Learn more about how to send Malomo Transactional Email order notifications with these articles:
