How to Create a Journey using Malomo Data
The Malomo and Attentive Integration relies on orders to be placed in order to function. Prior to setting up a journey, ensure you have installed the Attentive integration successfully and you have had new orders placed after the installation. You may also place and fulfill a “fake” test order to trigger Malomo data to sync to Attentive.
How to Trigger a Journey with a Malomo event
Within your Attentive account, navigate to Journeys.
Click Create Journey.
Select Start From Scratch.
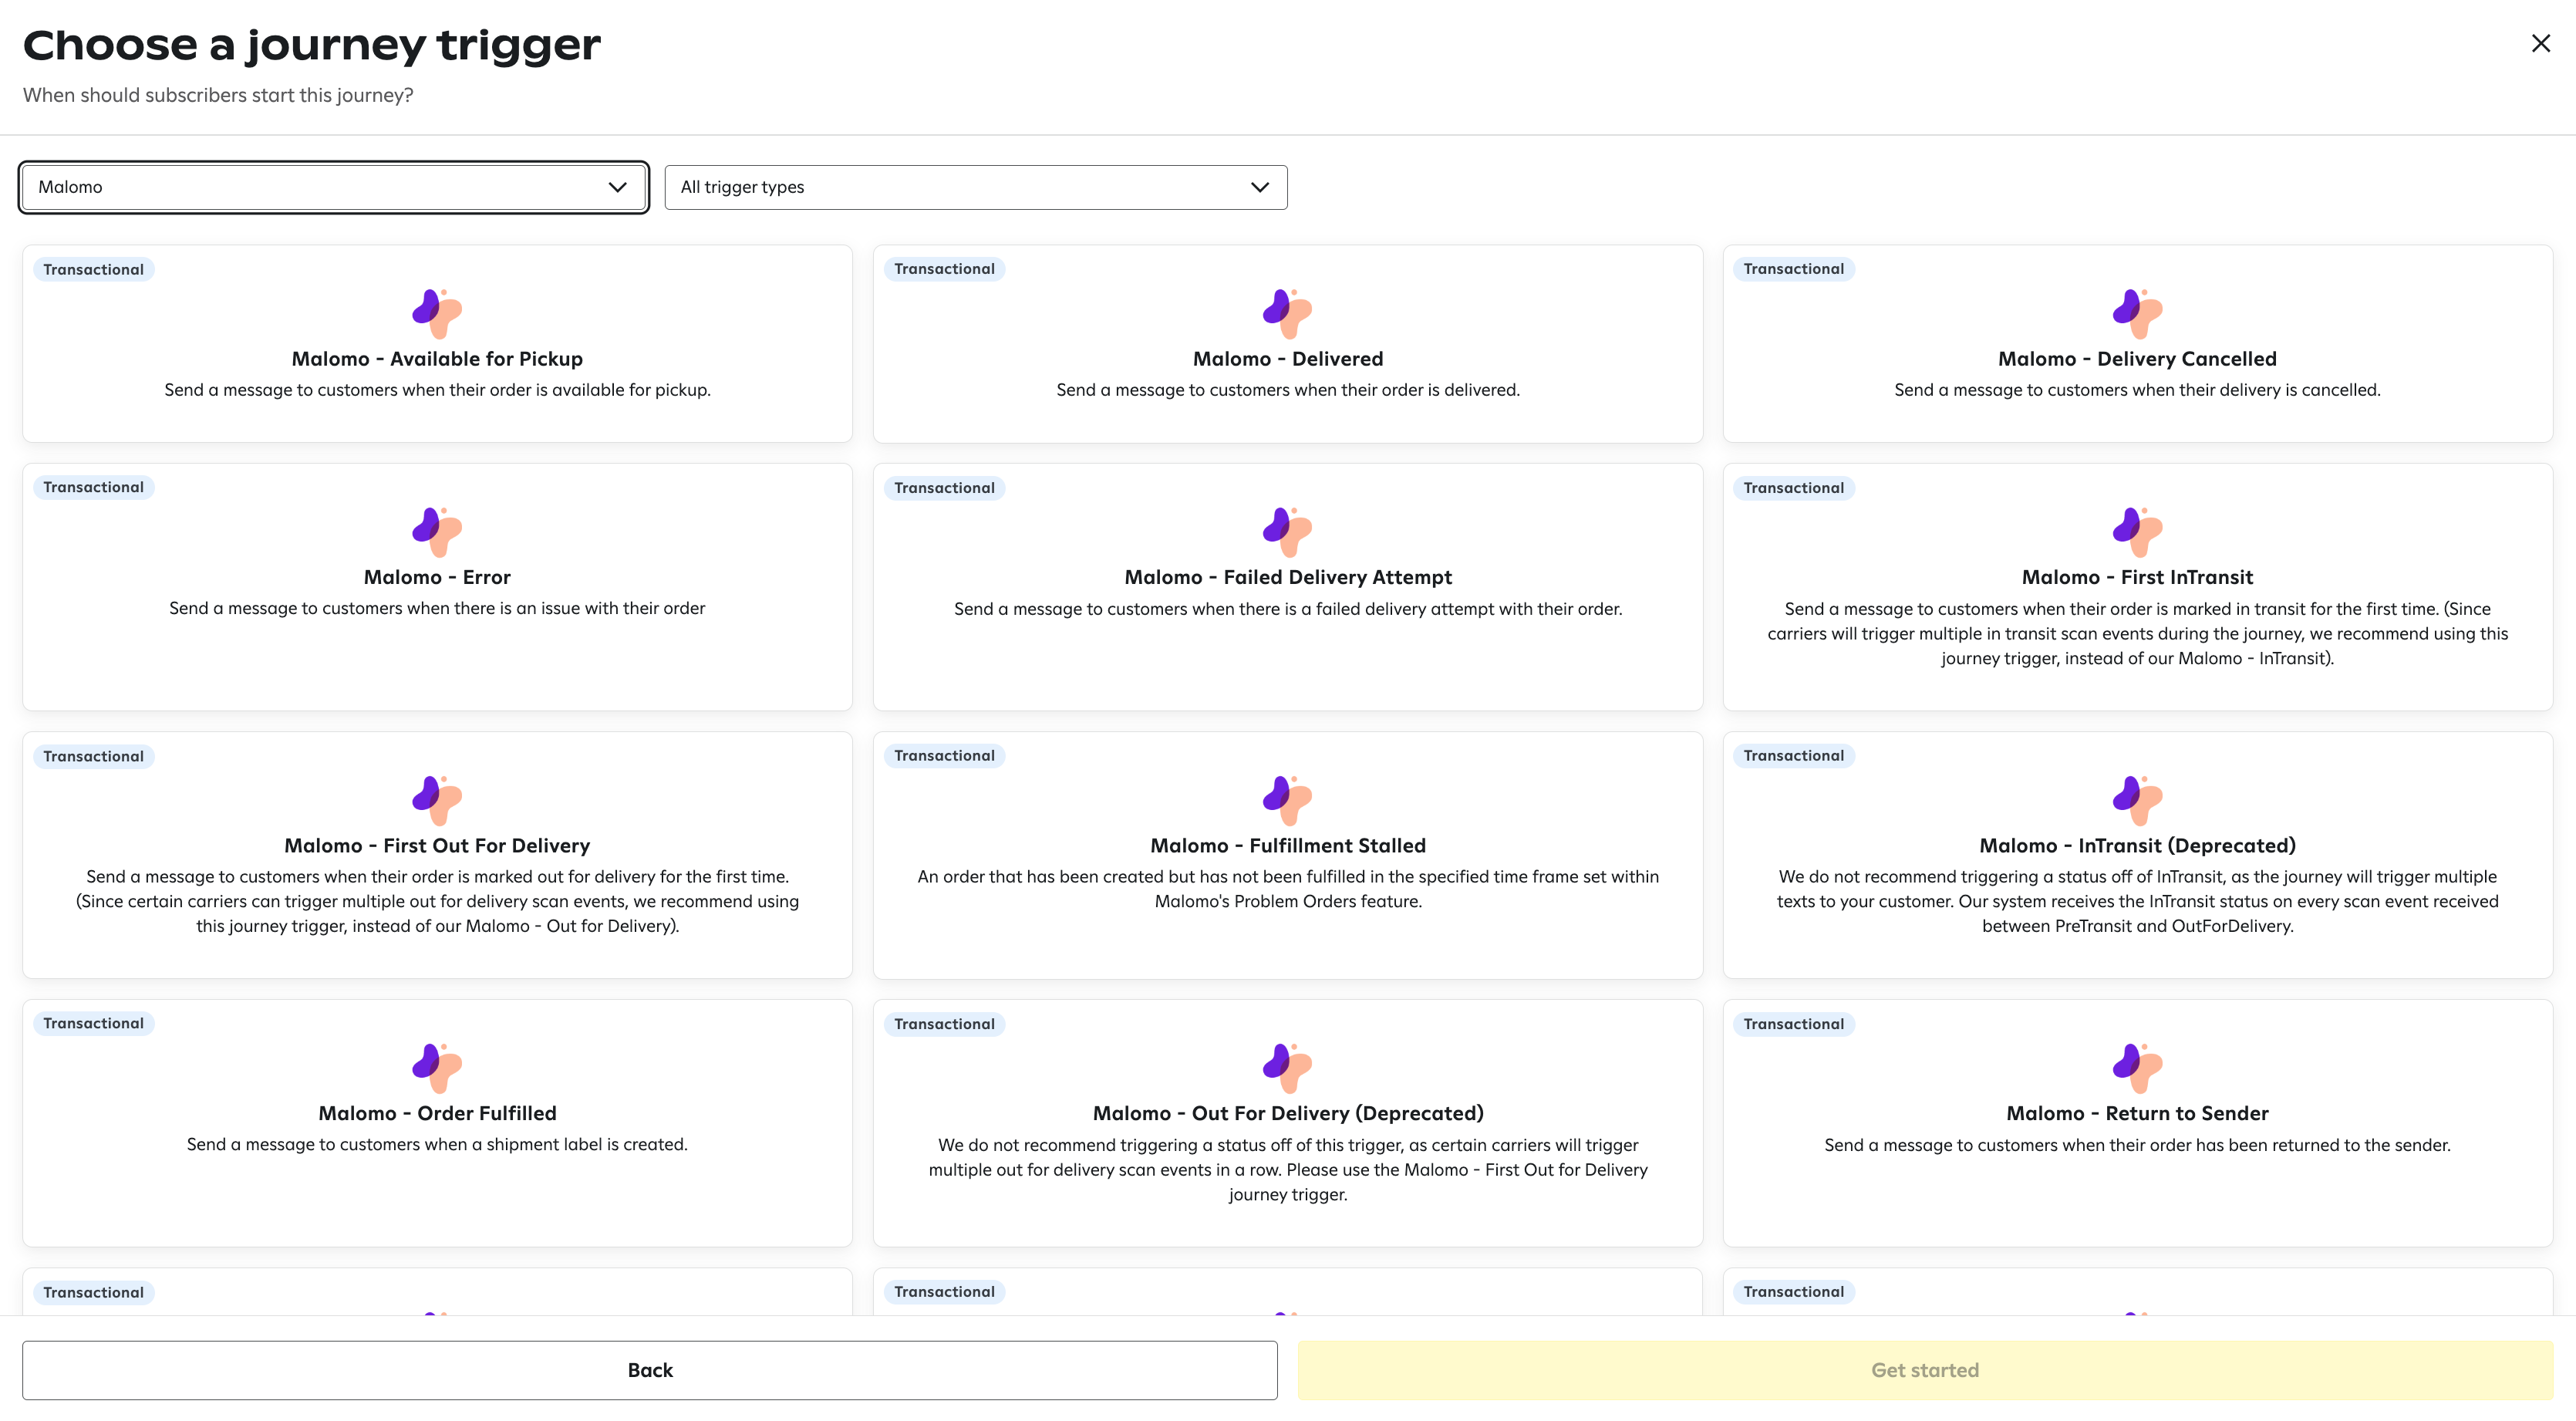
On the Journey Trigger page, use the All Apps dropdown to select Malomo.
From here, you’ll see the full list of Malomo journey triggers available to use. See here for more information on each journey trigger.

Select the journey trigger you wish to use and click Get Started.
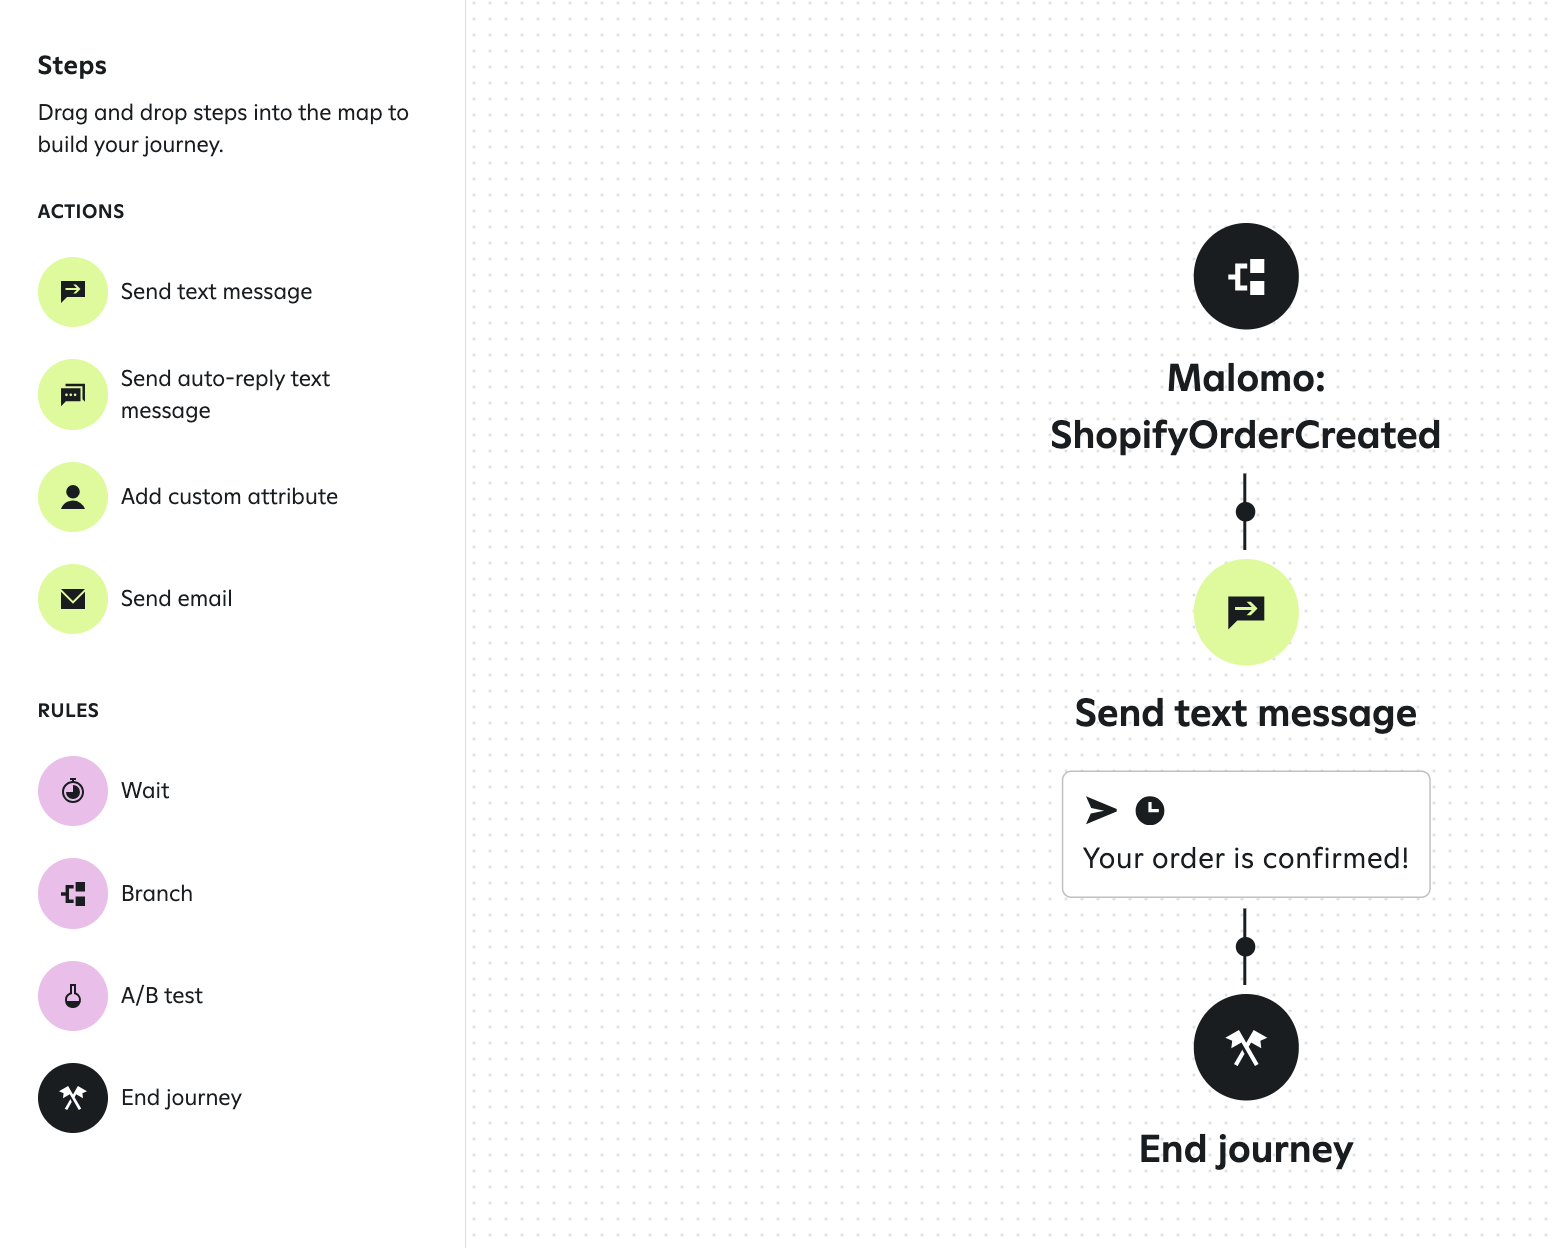
From here, your journey is now ready to be customized with actions. You may use Send Text Message and/or Send Email actions, as well as add rules such as time delays or branches.
To add to your journey, click on the action or rule from the left side navigation panel and then drag and drop it into the journey.

Customize text messages and emails using Malomo variables to show live order and shipping information. See here for our list of commonly used Malomo variables.
When finished, click Turn On to enable the journey and begin notifying customers.
Learn more about how to design emails and text messages using Malomo data with these articles:
