Integrating Malomo and Sendlane
Pre Requisites: Completed Shopify <> Malomo Integration
Set up Time: 15-20 Minutes
With this integration, you can send personalized and targeted messages to customers based on the status of their orders and any related shipments. Messages can be tailored to drive traffic to branded tracking pages to increase cross-sells, reduce support tickets, and create more brand exposure. This integration will allow Malomo to send tracking information to Sendlane, so you can incorporate shipping data into automated flows in near real-time.
Complete the following procedure to set up the integration for Malomo and Sendlane.
Before Getting Started:
In order for Malomo and Sendlane to be properly integrated, please ensure that your accounts are connected to the same Shopify Account. For more information on how to connect your Shopify Account with Malomo, click here.
Integration Setup:
Step 1: Create a Malomo Private API Key
Log in to your Malomo dashboard and navigate to the Account section and then click on Developer.
Give the key a name, such as “Sendlane Integration” and confirm that the key toggle is in the left position to indicate it is a secret API key.
Click Generate Secret Key.
Step 2: Begin connecting Malomo to your Sendlane account
Navigate to the Apps section and click on the Install button for Sendlane.
Once on this integration page, you will be asked to copy and paste your Malomo API key from step 1. Do this and hit continue.
Step 3: Create a Sendlane API Access Token
In a separate browser tab, log in to your Sendlane dashboard and navigate to the Account section.
Click on API from the navigation menu.
From the API screen, select + API Token. Name your new token “Malomo Integration” and click Create.
Your unique Access Token will be displayed in the next screen. Click Copy API Token.
Step 4: Finish connecting Malomo to your Sendlane account
Navigate back to the Sendlane installation screen from Step 2.
You will now be asked to copy and paste your Sendlane API Access Token from step 3. Do this and hit continue.
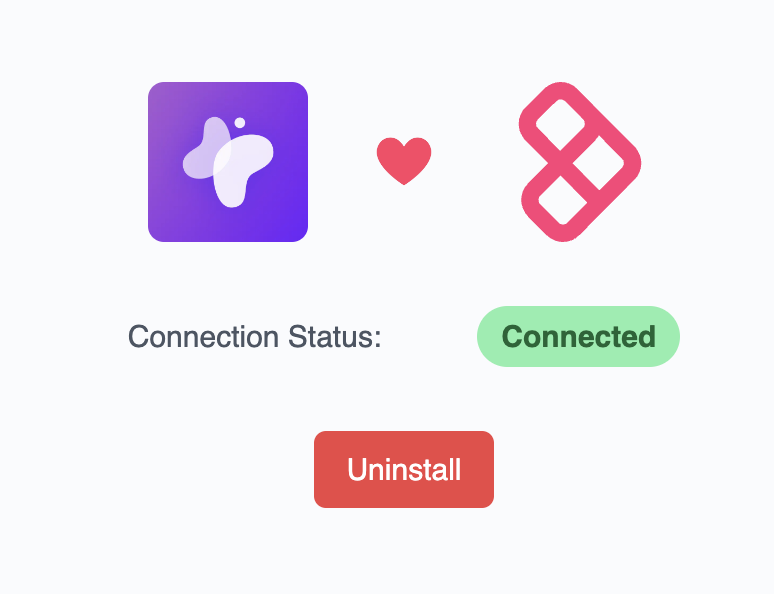
Once finished, you should see a Connection Status: Connected screen.

Congratulations, you have successfully authenticated your Sendlane Account with Malomo! If you see a status other than “Connected” on the installation screen, please email help@gomalomo.com and our team will assist you.
Please note, unlike our other apps, our Sendlane integration will NOT show a green dot and “Connected” status on the Apps Page in the dashboard, even after a successful installation. If you’d like to test your connection, you can repeat the installation steps above and confirm that you receive the successful Connection Status: Connected screen as shown above.
Review or Set your Default Tracking Page URL
Sendlane uses the Default Tracking Page URL set in the Malomo Dashboard to share your live tracking page with your customer. To review this page, go to Malomo > Account > Overview and look for the Default Tracking Page URL section. If this section is blank, please add in the full URL of your live tracking page. If you have multiple live tracking pages, please select the page you would like to assign as the default tracking experience.
To learn more about setting or reviewing your default tracking page, check out this article.
Setting up Automations between Malomo and Sendlane
Once Malomo and Sendlane are integrated and data is flowing between the services, you’re ready to set up custom automations using Malomo event data. To learn more about how to build Sendlane Automations using Malomo event data, please check out this article.
Need help or experiencing issues with the integration? Please reach out to either the Malomo Team or Sendlane Support.
